
Getting a new glove is one of the best feelings in the world. It smells nice, looks beautiful, and probably feels amazing on your hand. But, the first time you give it a little squeeze, the glove barely moves. Welcome to breaking in a new glove. Get comfortable.
As someone who has broken in too many gloves throughout their lifetime, at first it would be an exact science. After messing up too many times, it started to seem more like a fine art. But as I got better at it, it landed somewhere in-between.
In this post we give our best tips to break in your glove from our experience with dozens of gloves. While we don’t have the perfect formula yet, these tips will help you avoid many of the mistakes we’ve made in the past and leave you with a beautifully broken-in mitt.

1. DON’T Squeeze Your Glove as Hard as You Can!
You’ll want to squeeze your new glove as hard as you can at first. DON’T DO IT. Doing so is only going to create a bubble on your ring finger that is both ugly to look at and slightly hurts the glove.
You don’t have to take it that slow, either, and we recommend using a glove mallet to hammer at some key parts in the glove. Number 1: the Pocket. This is pretty obvious, but necessary. Loosening the leather in the pocket is important.
Number 2: The hinges at the pinky and thumb. This is critical as it starts to loosen the leather and laces around where you’ll be squeezing the glove. That’ll allow you to form the surest pocket.
You can do this with just a baseball or dumbbell if you don’t have a mallet, but the important part is loosening up the glove so you don’t create ugly bubbles in the pocket. Once the glove is a bit easier to squeeze, you can start playing more catch and trying to squeeze the glove.

2. DON’T steam your glove!
Maybe you’ve heard this before, but someone needs to hear it: DON’T STEAM YOUR GLOVE, OR PUT IT IN HOT WATER, OR RUN IT OVER WITH YOUR CAR. All of these pitfalls will break in your glove, but kill its durability. Whether you spent a lot of money or a little, you’ll be getting a few less seasons with the glove just because you were impatient early in the break-in process.
3. DO Play some Catch, take some Light Grounders/Flyballs
Once you can squeeze the glove a bit more after step 1, start playing some light catch. You’ll drop some throws, boot some grounders, and the glove will let you down at times, but the goal is to break-in your glove and train it to behave the way you need it. You shouldn’t be out in front of scouts with a stiff glove, so focus on loosening the leather and not on flawless “D”.
You can start shaping your glove, too. Whether that’s a flare, or a roll, or some combination of the two, now is the perfect time to start really forming the glove how you want. Another important way to expedite the break-in is to continue hitting the pocket and hinges with your mallet.
The most important part of this step, again, is to not overdo it. Don’t squeeze your glove like it’s game ready, don’t overdo it on flaring/rolling your glove, and take your time. The glove is made of a cow’s skin, which formed and shaped itself beautifully, naturally, very slowly, and over a period of several years. You will thank yourself later by shaping it patiently and as gently as possible.

4. Start Ramping It Up
Once your glove feels about 70-80% broken-in, i.e. you have a decent approximation of the final shape, the ball doesn’t pop out much, and you can finally squeeze it around the ball without a ton of effort, it’s time to start ramping it up.
Put your old glove away and start using your new one all the time. That means using it at full speed, especially during practice. You may not think it’s perfect, but it won’t get to that point of full confidence without actually using it in a semi-important setting.

5. It’s Ready to Go – Even if You Don’t Think So
If you’re like me, its hard to commit to the fact that your new glove is ready for the all-important job of “gamer.” But at some point, when you’ve hammered at it, played catch more times than you can count, and even used it during practices and scrimmages with success, its time to take the plunge.
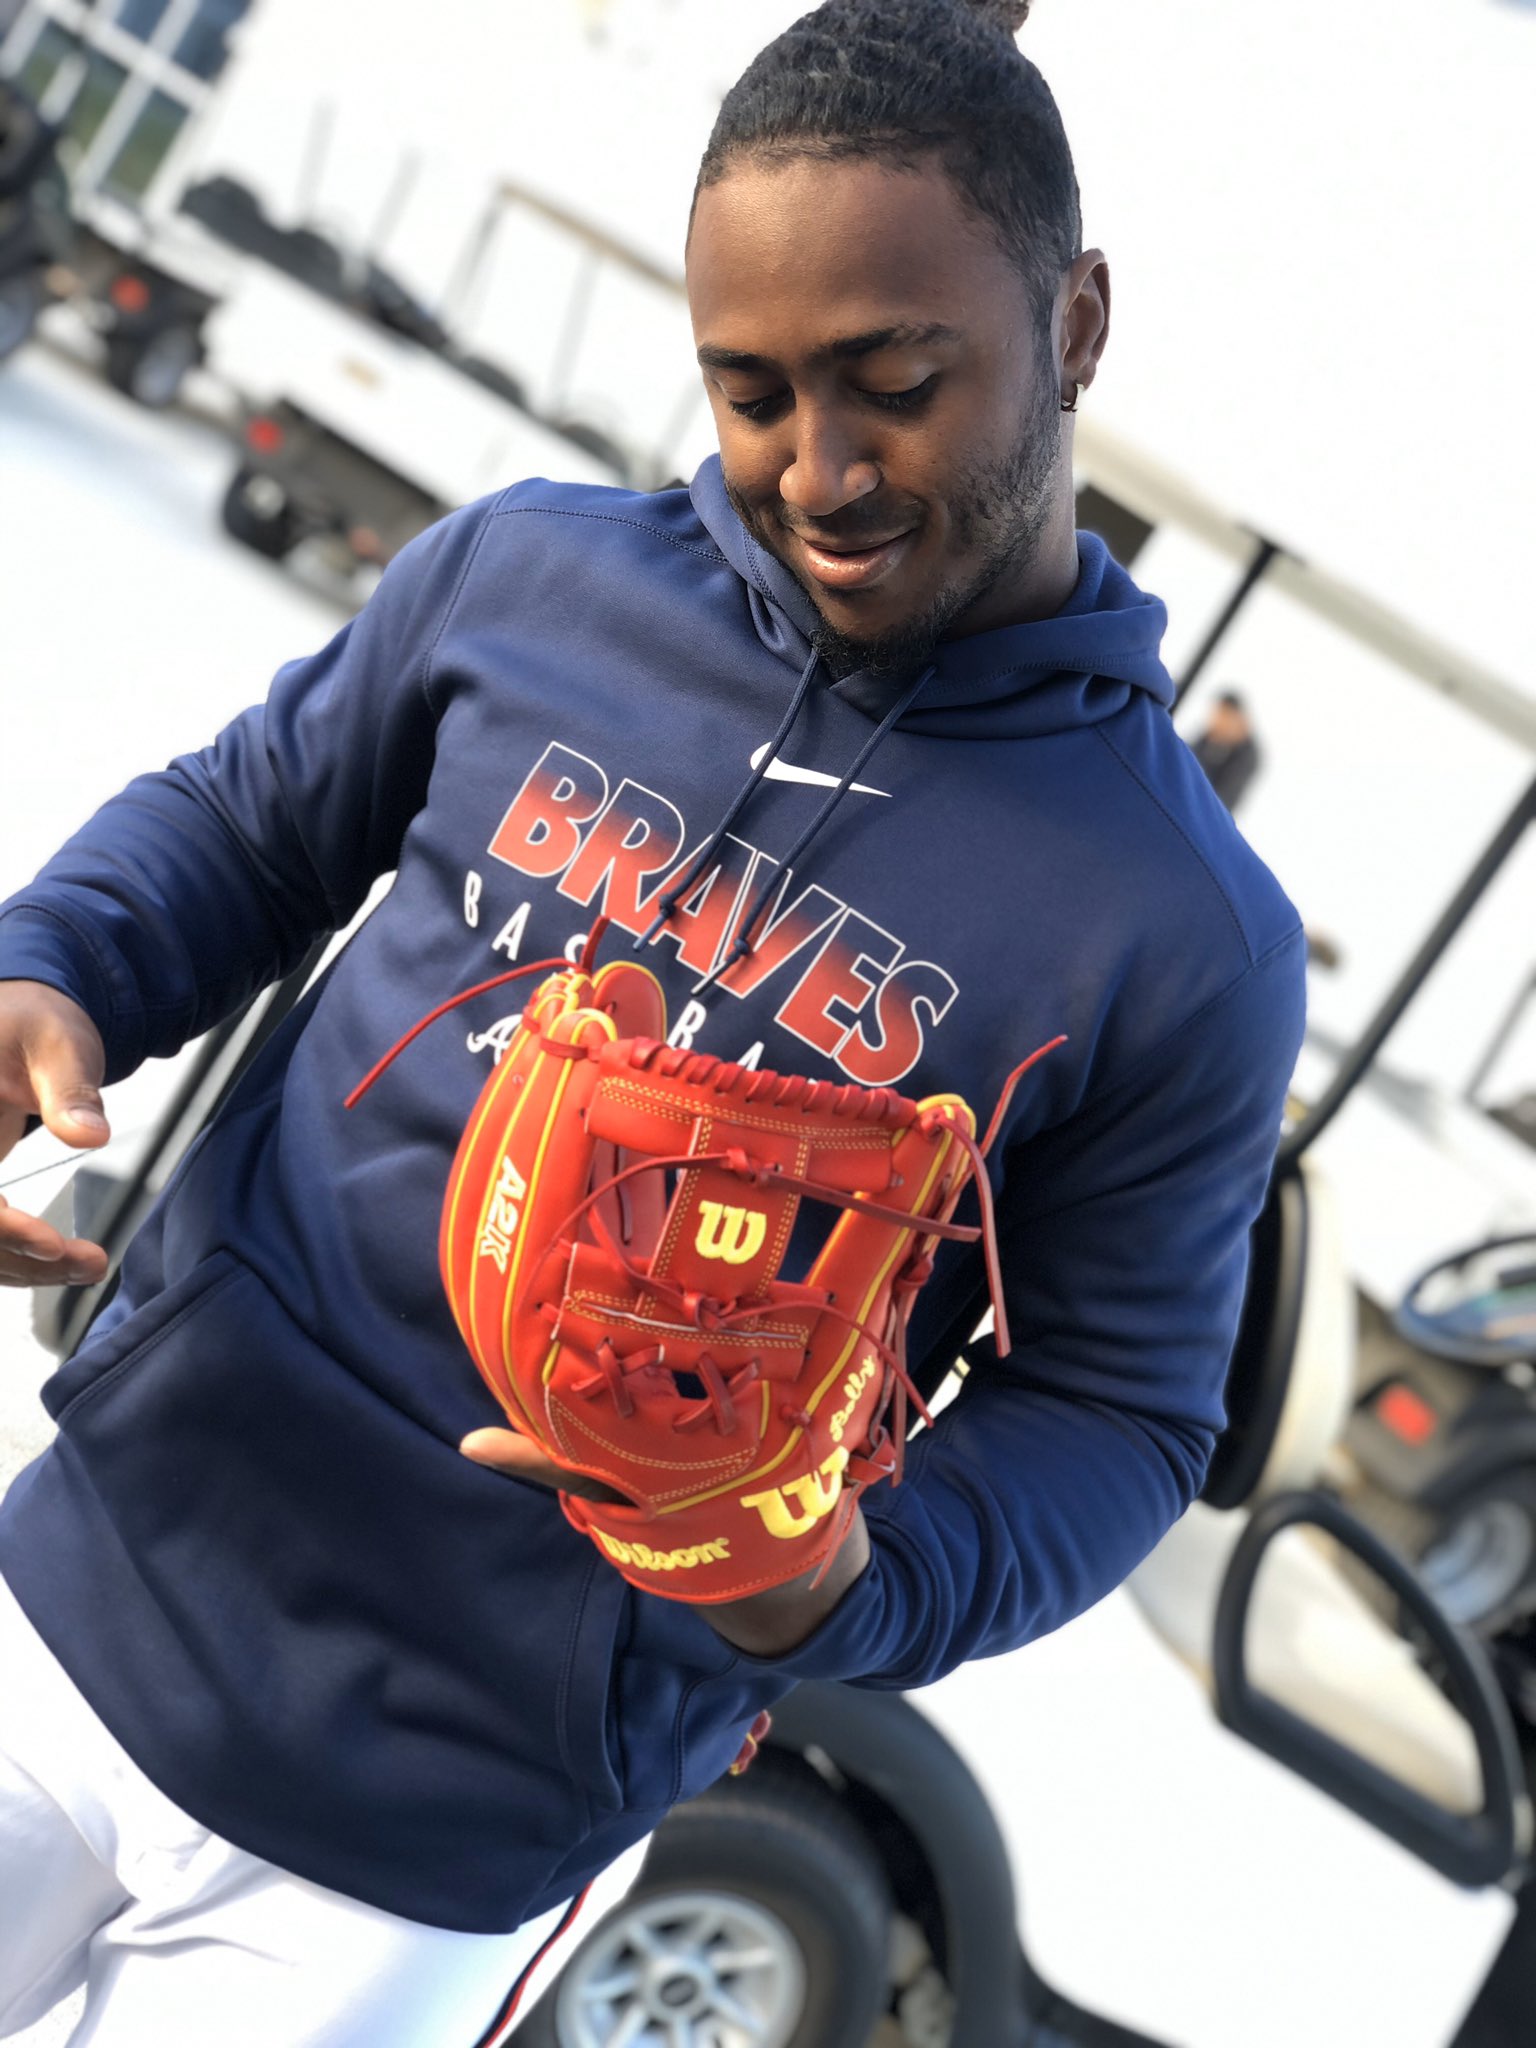
The key is to make the jump and start using it in games. It won’t feel like your old glove at first, but over time, it will get there. Over time, you’ll forget all the days you could barely squeeze it. It will just feel like an extension of your hand, and soon get a nice, worn look like Didi’s old Yanks gamer below:

6. Final Notes
The whole process could take anywhere from a couple of weeks to a couple of months, depending on how much time you put in per day and the particular leather and glove. With that said, it will definitely take longer than you want and expect. But that’s a good thing.
If you want to skip the break-in process, there are several gloves that will be ready-to-go out of the box. The best example is the Rawlings Heart of the Hide R2G series, but many inexpensive and youth gloves come game ready.
Regardless, our quick summary is to make sure you take your time and do it right. You may feel impatient at times, but you’ll thank yourself when your glove truly feels like a (mighty comfortable) extension of your hand.


Try to stay away from the HOH R2G series. The leather is PERFECT. But the thumb, pinky, and heel inserts are NOT quality materials. They will break down a lot quicker. Get a regular HOH and break it in how WPW stated. Breaking in a glove is part of being a ballplayer. And like a ballplayer, there are no short cuts.